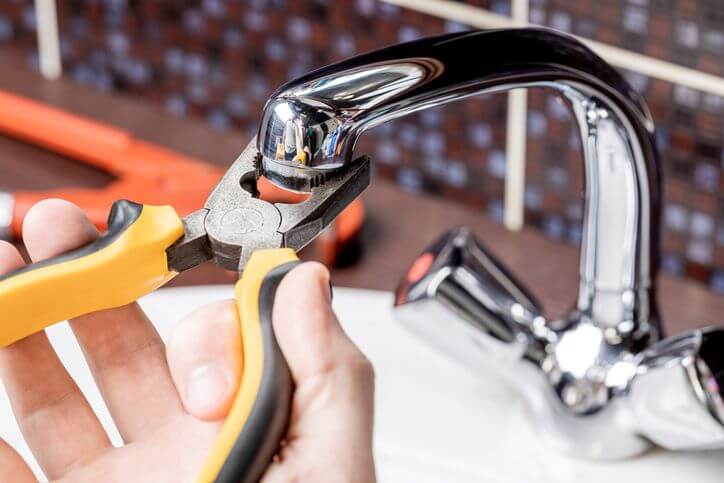
But if you’re not a do-it-yourselfer or need a pro to perform plumbing faucet repairs as soon as possible, Contact Rocket Plumbing Today!

Before diving into faucet repairs, it’s essential to understand the type of faucet you have. Four types of faucets exist: compression, ball, cartridge, and disc. Each has its unique mechanism, but the general repair principles are similar. Identifying your faucet type is crucial as it dictates the steps you’ll follow for repair.
Compression faucets are often found in older homes and are easily identified by their separate handles for hot and cold water. They operate using a simple mechanism where a washer is tightened against a valve seat to control water flow. This traditional design has been around for decades and is known for its reliability and straightforward maintenance.
Common Issues: Washers wear out, leading to leaks.
The primary issue with compression faucets is the wear and tear of the washers. Over time, these washers can deteriorate and lead to leaks. Additionally, the valve seat, where the washer presses against, can corrode or become damaged, resulting in a leaking faucet. Another common problem you may experience in plumbing faucet repair is the stiffening of handles, which is often caused by residue buildup or issues with the washer.
These washerless faucets are commonly found in more modern homes or bathroom remodels. They come in various designs, including single-handle models that control water temperature and flow. Each type, whether ball, cartridge, or disc, uses a unique mechanism, but all are designed for durability and efficient performance.
Common Issues: Worn O-rings or seals lead to leaks.
The main issues with these types of faucets are related to the wear of O-rings or seals, which are crucial for preventing leaks. Ball faucets, in particular, may leak around the base or from the handle, often due to internal plastic parts wearing out. Cartridge and disc faucets can experience leaks if the cartridge becomes worn or if seals fail. Moreover, these faucets can be affected by mineral buildup, which can impact their functionality.
You’ll need a few basic tools for plumbing faucet repair:
Before starting any faucet repair or rebuild, always turn off the water supply by closing the valves under the sink. Open the faucet after shutting off the water to release any remaining water and pressure. This will not only save you from spraying water everywhere but also potentially injuring yourself.
Repairing a leaky faucet can be straightforward if you follow these steps carefully and have the proper tools, replacement parts or repair kit. Whether you have a compression faucet or one of the modern washerless types, the repair process involves disassembly, inspection, and rebuilding.
Start by disassembling your faucet. If you have a compression faucet, this involves removing the handle and unscrewing the packing nut. This will expose the worn washer, which usually causes leaks. For ball, cartridge, or disc faucets, remove the handle. Some handles have caps that need to be unscrewed before you can carefully extract the internal mechanism.
Once you have disassembled your faucet, closely examine all the parts. Check for any signs of wear or damage. The most common issues are worn O-rings, seals, or washers. It’s vital to replace any damaged parts you find. It might be best to get a repair kit specific to your faucet type for washerless faucets, as these kits come with all the necessary components.
Always take this opportunity to clean off any built-up residue that can interfere with the faucet’s moving parts.
After you’ve replaced the worn-out parts, it’s time to reassemble your faucet. Put everything back together in the reverse order of how you took it apart. Once you’ve reassembled the faucet, turn the water supply back on and test the faucet. There should be no more leaks, and the faucet should operate smoothly.
Following these steps, you can repair the most common issues with leaky faucets. The key is to work carefully and ensure that all the parts are replaced correctly.
But if you need a professional plumber or specialized parts, don’t hesitate to reach out to the expert team at Rocket Plumbing. Contact us today for all your faucet repair needs and experience the peace of mind that comes with professional service!
Faucet repair might seem daunting, but with patience and the right tools/parts, you can confidently handle leaky faucet repairs and rebuilds. Remember, safety and understanding your faucet type are key.
However, Rocket Plumbing is just a click away if you need a hand or expert advice. Whether it’s a small fix or a bigger issue, we’re here to help you get your faucets and home back to perfect working order. For any plumbing needs, reach out to us; let’s solve those faucet troubles together!
We’re local, fast, and ready to help. Schedule now and save.